I will show how to get rid of white dots on Samsung TVs and explain why it happens in the first place. Also, check out what to take care of to avoid white dots appearing on the screen in the future.
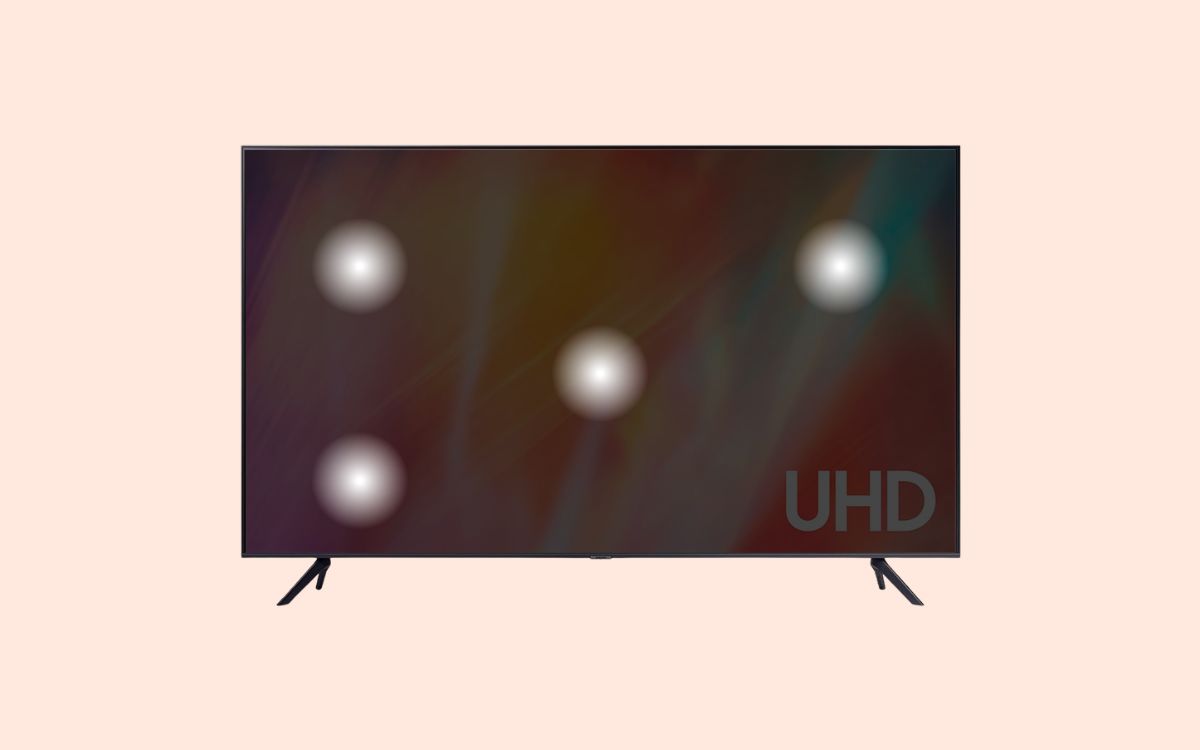
White dots or white spots on your Samsung TV screen is a major problem. It ruins our TV-watching experience.
Once the white spots appear on the LED TV screen, whatever content we play on the TV, the bright white spots will appear.
Why White Dots Appear on TV Screens?
Firstly, let’s address the main point of concern – Why does white dots appear on TV screens?
White bright spots appear on your LED TV screen because the fuser lenses have become detached.
Slowly tilt your TV to both sides and see if you can hear any rattling sound. If the fuser lenses are detached and have fallen, they will move inside your TV when you tilt it.
The primary function of the fuser lens is to scatter the light emitted by the LED on your TV display panel.
When the fuser lens detaches from the LED, the light won’t be scattered, causing bright white spots on the TV screen.
The white spot is particularly evident when viewing bright content, and it disappears when on a dark screen.
In short, the problem here is that fuser lenses have gotten unglued and fallen down. All you need to do is glue it back to fix the problem.
How to Fix White Spots on Samsung TV
To get rid of white spots on your Samsung TV screen, you need to open the back panel and remove the white sheet. You will now find a couple of fuser lenses detached from the LED. Apply some non-foaming glue and place the lenses on top of the LED. Wait for it to dry and put everything back.
Do A Picture Test
Firstly, you need to do a picture test on your Samsung TV. It will help you find more details about the white spots on the TV screen.
All Samsung TV comes with the option to perform a picture test. It is a test done by professionals to ensure the display works fine. It also helps us to identify the magnitude of the problem.
Follow the steps below to perform a picture test on your Samsung TV:
- Press the Menu button on the TV remote (Use the arrow buttons on the remote to navigate)
- Go to Settings
- Select Support
- Click the Self Diagnosis option. You will find a bunch of options here.
- Choose Picture Test
On the Picture Test screen, set different colors and you could see how harsh and bright the white spots are.
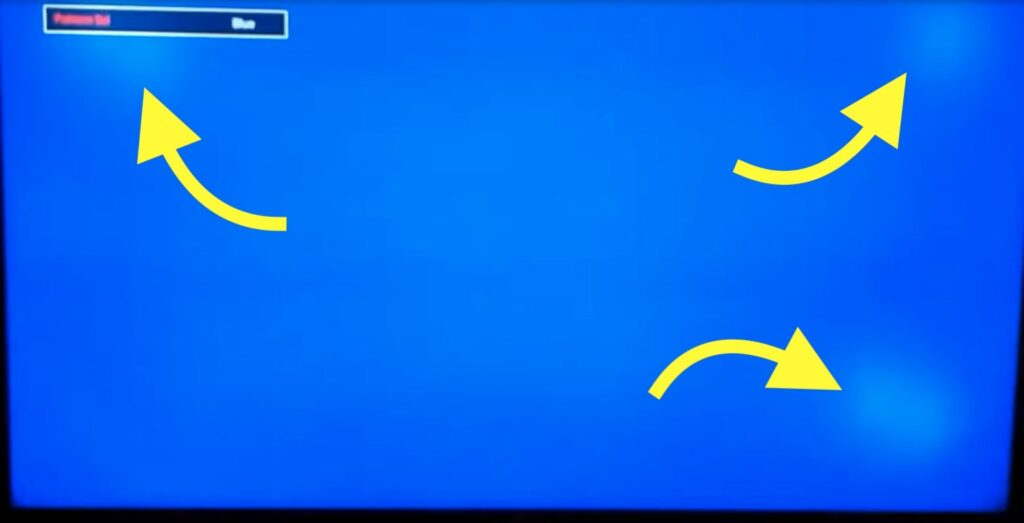
In most cases, the white spots appear brighter when the TV is playing content with brighter colors like blue, white, yellow, etc. On the other hand, if the screen has a dark visual, the white spots become almost invisible or barely noticeable.
If you were able to notice the white spots on the picture test screen, it’s for sure the problem is with the fuser lenses or reflectors, as some calls them.
Performing the picture rest can help you find issues like horizontal lines on the TV, or one side of the screen darker than the other.
If you only see the dots when opening a specific app, try restarting the app.
Attach The Fuser Lenses Back
Note: If your TV is still under warranty, I would recommend you to take it to the nearest service center as opening the TV will void the warranty.
All you need to do is attach the fuser lenses or reflectors back to fix the white spots on the TV screen.
If you are not comfortable opening your TV and doing everything yourself, you may visit the nearest service center and ask them to fix it.
It is a short and straightforward process that won’t take more than 15 minutes.
Since we are not doing anything with the motherboard or other internal components of the TV, it is also very safe.
You should be cautious as we are working with the TV screen.
Follow the step-by-step guide to see how to replace or attach the fuser lenses back to fix the problem.
Unplug your TV
The first thing you need to do is to unplug your TV. Before opening your TV, ensure the plug is not connected to a wall socket.
Unplug the power cord, HDMI cable, and other streaming devices attached to the TV.
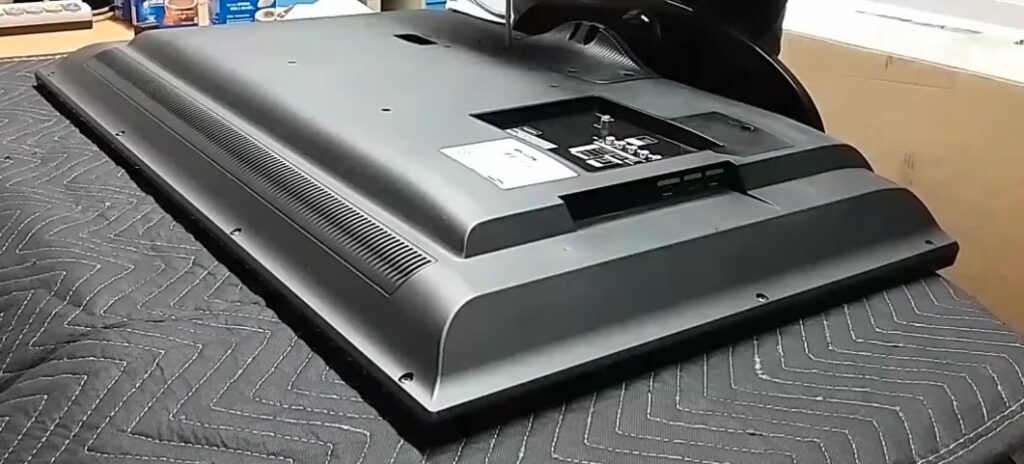
Remove the back panel
Now lay the TV flat on a table. Make sure the TV screen does not bump into anything on the table.
It’s best to place a blanket or towel on the table before laying the TV down. You need to place the TV so that the screen faces down towards the table.
Grab a screwdriver and slowly start to unscrew all the screws. Make sure to keep all the screws in the same place, as it is easy to lose them quickly. In m st LED TVs, there will be more than 12 screws.
After unscrewing every screw, you need to pull off the plastic back panel.
Just insert your finger between the plastic panel and the body of the TV, or use a ruler to separate the back panel.
Carefully lift the back panel to reveal the motherboard, power supply board, and other components.
Lift the display panel
The next step is to lift and separate the display panel from the TV.
You need to use a putty knife or a ruler to separate them. Gently pull off the plastic frame from the TV body.
Make sure to apply even pressure on all four sides when lifting the plastic panel, as it can be broken so easily.
Disconnect the ribbon cables
Towards the bottom of the TV, you will find two or more ribbon cables. This cable is the cable that connects the main board and the TV display.
To detach the TV display, gently unplug the ribbon cable.
Slowly tilt the cable and pull it out to remove it.
Pull the display panel
Once the ribbon cable is detached, you should be able to pull the display panel easily. Using both your hands, grab the two ends of the display panel and lift it.
You need to place the display panel somewhere safe. Display panels are effortless to be scratched. It needs to be handled with care.
Remove the frame
You will now need to remove another frame protecting the reflector sheet.
Before lifting the frame, mark the panel’s left, right, top and bottom positions. You will need this information when placing everything back together.
If you place it incorrectly, the picture will appear upside down.
Gently lift the plastic frame, running around the TV, protecting the reflector shit beneath it.
This plastic frame can be easily broken. So handle it with care.
Lift off the white sheet
Once you remove the plastic frame, you can freely lift the white sheet.
Beneath the white sheet is the fuser lenses, you need to glue them back in the correct position.
Lift the white sheet and keep it somewhere safe. Chances are high for the sheet to bend. So place it flat on a table or a couch.
Find all the detached fuser lenses
As soon as you lift the white sheet, you will find a bunch of detached fuser lenses. Collect all of them and keep them in a safe place.
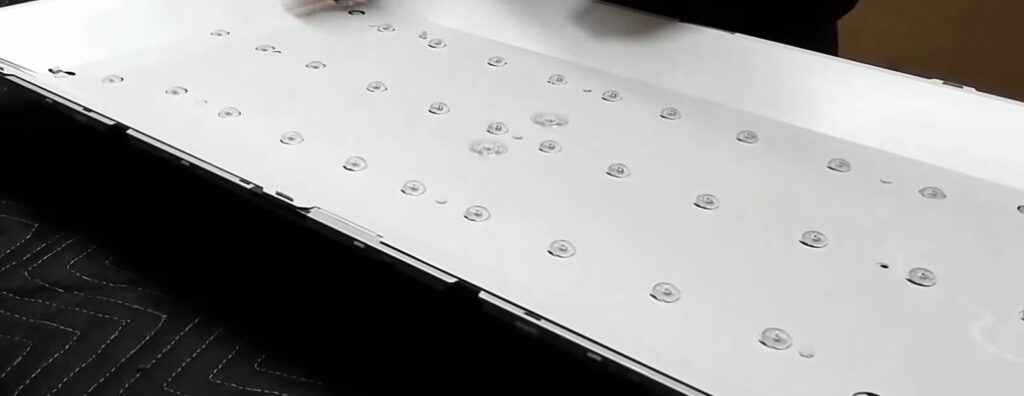
The next thing you need to do is slowly run your hand along all the fuser lenses to find those that are about to fall soon.
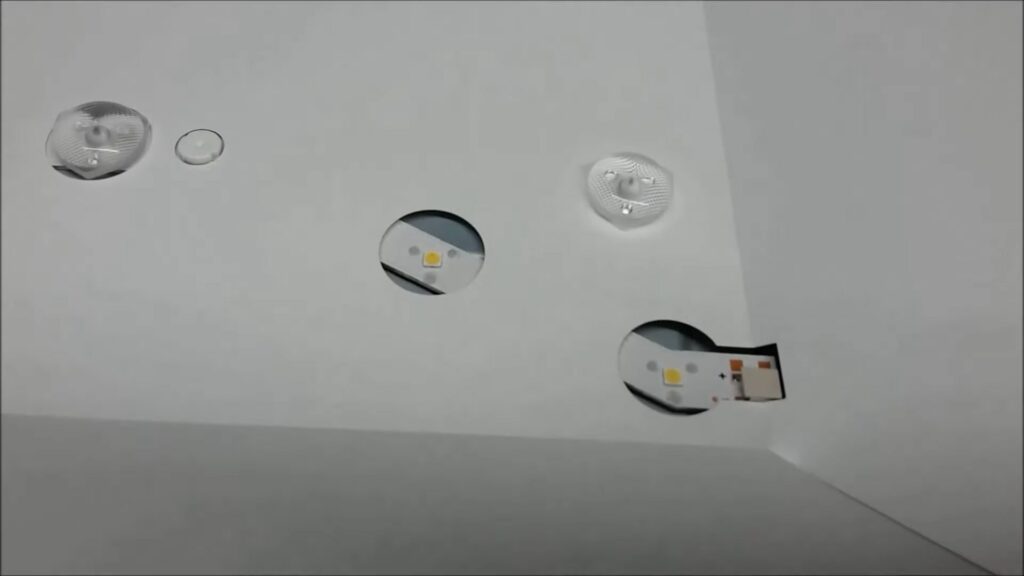
You need to glue them and place them back in the correct position.
Squeeze out some glue and spread it on paper or a plastic sheet.
Grab a fuser lens.
Use a toothpick to apply the glue to the back of the fuse lens. Only apply the required amount of glue just as to make it stay in place.
Align the 3 points on the fuser lens properly with the LED and place it in place.
Repeat the same process for all the fuser lenses that have fallen apart.
Wait for a couple of minutes for it to dry completely. Don’t reassemble the TV before the fuser lenses are adequately dried.
Reassemble the TV
After attaching the fuser lenses back to the LED, it’s time to reassemble the TV.
Start by placing the white sheet back. Align it properly by looking at the markings we did earlier while lifting it.
Put the plastic frame back and press firmly to lock it in place.
Place the TV display on top of the frame and align it carefully. Before moving to the next step, you must ensure the edges and corners match.
Run your fingers along the edge to make sure it’s appropriately placed.
Now connect the ribbon cable back.
Put the bezel back and press the sides to lock it in. Move to the next step when you no longer hear any clicking sound when you press the bezel.
Place the back panel in the correct position and align it with the screw hole.
Use the screwdriver to screw them all back again.
Connect the TV
Now that we have successfully attached every fuser lens, it’s time to turn on the TV to see if the problem is fixed.
Connect the power cord, HDMI cable, and streaming device (if any).
Press the power button on the TV or the power button on the TV remote to turn on the TV.
Play any content on the TV and see if the bright white spots have disappeared or not.
Check Picture Settings Again
To better understand if you managed to fix the issue, visit the Picture Test setting again.
Grab your TV remote and head to Settings > Support > Diagnosis > Picture Test.
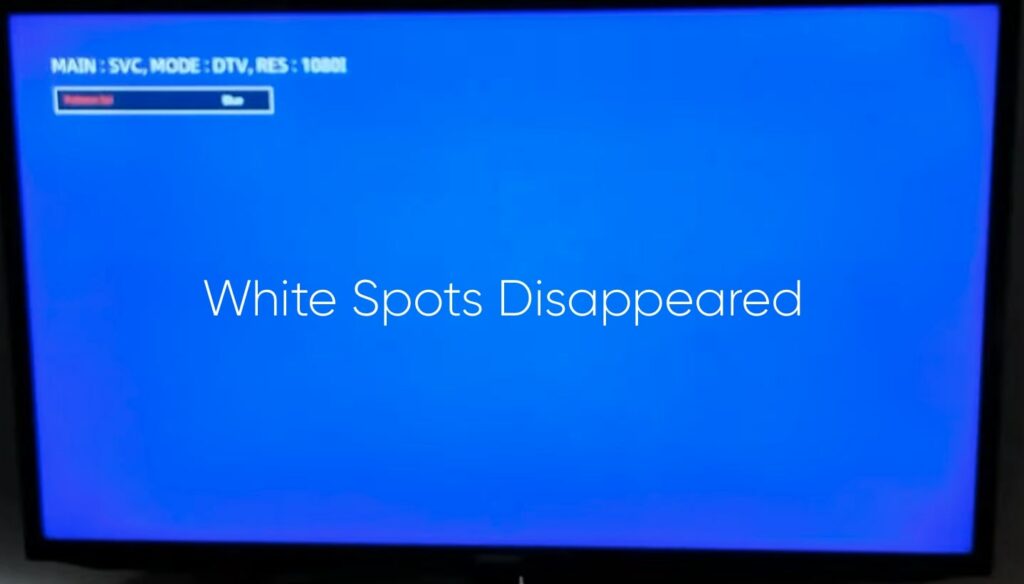
In most cases, the bright white spot should no longer be visible.
Visit A Service Center
If you don’t want to repair the TV yourself, you may take it to the nearest service center and let a professional repair it.
Replacing the fuser lenses shouldn’t cost you a lot of money. In most cases, one may do it themselves.
Claim Warranty
If your TV is still under warranty, you could get your TV repaired for free of cost. All you need to do is take the invoice and the TV to the nearest Samsung authorized service center and get it fixed.
Every Samsung TV comes with a limited one-year warranty from the date of purchase.
If it’s been less than a year since you bought the TV, it is still under warranty.
You can find more information regarding your TV warranty here on the official website of Samsung.
Use this link to navigate and find the nearest Samsung service center.
Frequently Asked Questions
Why do bright dots appear on TV screens?
White bright dots or spots appear on the TV screen when the fuser lenses get detached and fall apart. The light from the LED won’t get diffused, causing white spots on the TV screen.
How do I get rid of white spots on my LED TV?
You need to open the back panel of the TV and then lift the display panel and the white sheet to reveal the fuser lenses. Collect all the detached fuser lenses, apply glue, and place it in the correct position. Reassemble the TV and turn it on.
Wrapping Up
If white spots appear on your TV screen, fuser lenses have detached and fallen apart. The simple fix to solve the problem is to attach the fuser lenses back in position.
You will need to open the TV to glue the fuser lens back in position. It’s a simple task that won’t take more than 15 minutes.
But if you don’t want to do it yourself or your TV is still under warranty, take it to the nearest Samsung authorized service center and get it repaired.
If your TV is still under warranty, you could get it repaired for free.
The process is similar for every TV, including Samsung, LG, Sony, Vizio, and more.