
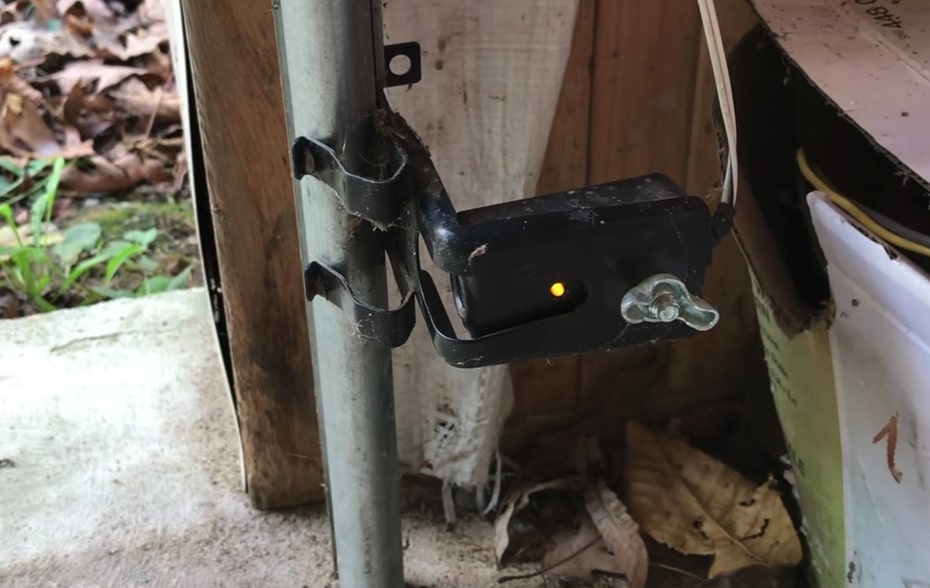
A yellow light on garage door sensor is a widespread problem many people face. When yellow light appears on the garage door sensor, the garage door won’t close.
The good news is that it is a simple problem that can be fixed in a few minutes.
If your garage door sensor is showing yellow light, don’t panic. Follow the steps below to fix it yourself and eliminate the yellow light.
There are many reasons why a yellow light on the garage door may appear. I will list all the possible causes and fixes to get rid of the problem quickly.
Yellow Light On Garage Door Sensor
A yellow light on the garage door sensor generally appears when the sensors are not aligned properly. You need to realign them correctly to fix the problem. The garage door won’t close until it is fixed. The light may also show up if an object is blocking the sensors.
What Does Yellow Light On Garage Door Sensor Mean
A yellow light on the garage door sensor appears when the sensor fails to work correctly. The sensor may be out of alignment, an object may be blocking the sensor, etc.
Below are some common reasons yellow light may appear on your garage door sensor.
- Sensor Out of Alignment: The most common reason yellow light appears on garage door sensors is that the sensors are not aligned properly. Over time, the alignment of the sensor may change. Even the slightest relocation of the sensor may cause problems like this.
- Dust on Sensor Lens: The beam directed from the sensor has to reach the receiver for the system to work and function properly. If dust or dirt particles accumulate on the sensor lens, yellow light may appear, indicating the sensor isn’t working properly.
- Wiring problems: If the wire connected to the sensor or the transmitter is loose, not properly connected, or broken, yellow light may appear. Replacing the wire should help you fix the problem.
- Objects Blocking The Sensor: The infrared beam won’t reach the other side if any obstacle comes in between the two sensors. Moving obstacles out of the way of the sensor should help in this case.
Fix Yellow Light On Garage Door Sensor
Follow the troubleshooting steps below to get rid of the yellow light on the garage door sensor and close the door right now.
Align The Sensor
Let’s start with the apparent reason – misaligned garage door sensors.
For starters, two sensors will be on either side of the garage door frame. The infrared beam sent out by one of the sensors should reach the other sensor to ensure nothing is blocking the door.
The garage door will only close if the infrared beam reaches the other side.
If the sensor is misaligned, the infrared beam won’t reach the other sensor, making the door not close. Even the most minor alignment difference will make the whole system stand at a standstill.
So all you need to do is realign the sensors correctly, and the yellow light should go away.
There are two ways to realign the garage door sensors. Follow the steps below depending on the type of sensor you have.
Sensors Attached via Screw
Follow the steps below if your garage door sensor is connected to the frame with screws.
Grab a screwdriver and gently unscrew the bracket or clamp holding the sensor to loosen it.
Adjust the sensor so both of them are correctly aligned. Repeat the same steps on the other side too.
Once the sensors are correctly aligned, tighten the screw.
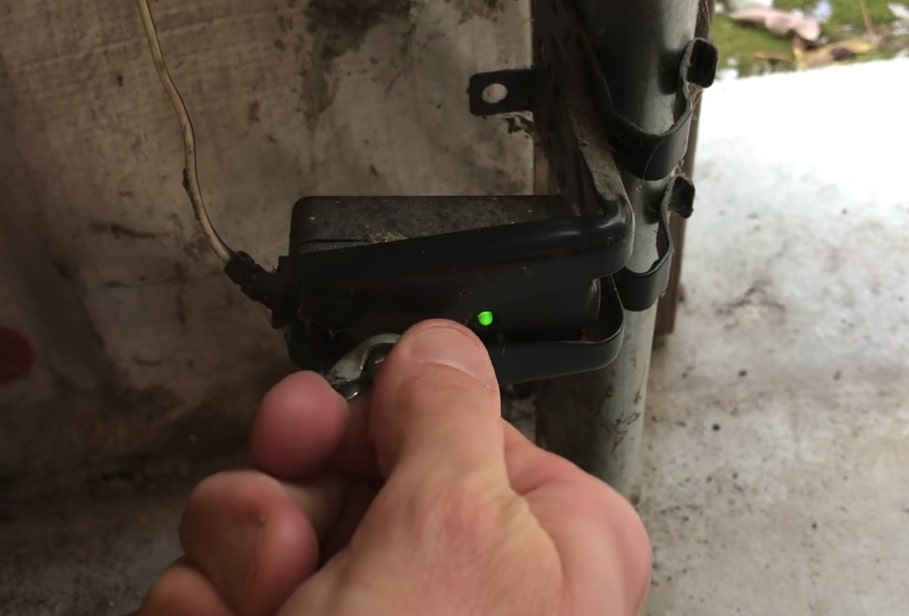
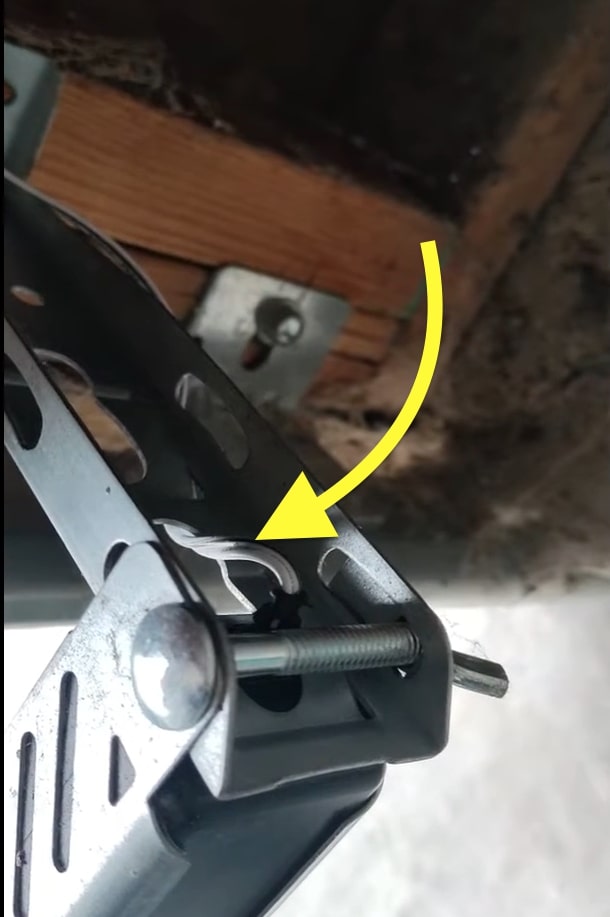
Sensors Attached via Wing Nut
If your garage door sensor is attached to the door frame using wingnut, you don’t need a screwdriver.
All you need to do is loosen the wingnut by rotating it anti-clockwise.
Adjust the sensors in such a way that both of them are aligned correctly.
Rotate the wing nut clockwise to tighten it and lock the sensor in place.
You may also try applying some pressure to the sensor bracket/clamp and see if it moves a little. A slight movement should help you align the sensors properly in many cases.
Pro tip: You may use a string to align the sensors properly. Attach the string to one sensor and connect it straight to the bracket of the other sensor. Now align them together in the same line of sight.
Clean The Sensor Lens
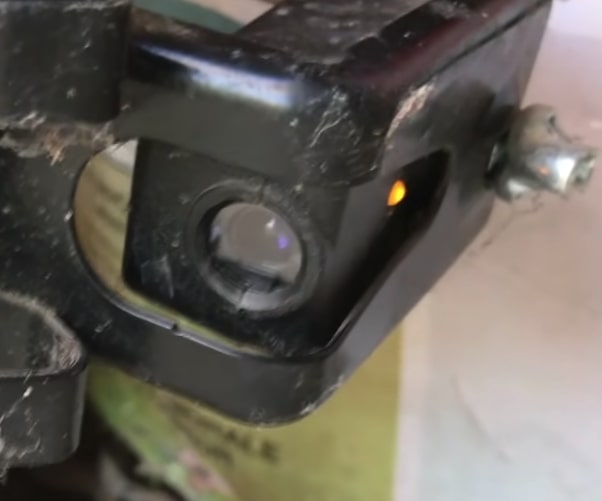
The second common reason a yellow light appears on the garage door sensor is that the sensor lens is dirty.
The sensors are generally placed on the lower bottom of the garage door frame. It is exposed to dirt and dust.
Furthermore, they are exposed to various climatic conditions as well.
The sensor lenses get dirty quickly. If the lens is dirty, the infrared beam cannot pass through or receive at the other end.
So all you need to do is clean the sensor lens to eliminate the yellow light on the garage door sensor.
Grab a need lint-free or microfiber cleaning cloth.
Make it slightly wet and wipe it on the lens screen to clean it. You may also apply some alcohol-based cleaning solutions as well.
Repeat the same process on the other sensor.
Now the yellow light should go away if the problem was with dirt on the sensor lens.
Ensure No Obstacles Are Blocking The Sensors
It’s a brainer that if an obstacle comes in between the sensor, the infrared beam won’t be able to pass through.
The door will only close if the infrared beam reaches from one sensor to the other.
So you must enter there is no obstacle between the path of the infrared beam.
Even if you properly align the sensor and clean the lens, the yellow light won’t go away if the sensor detects an object in between the path.
Also, examine the area right before the sensor and make sure nothing is blocking it.
Inspect The Wiring
If you have been using these sensors for a long time, chances are there that the wiring might have become faulty, broken, or loosened.
You need to closely examine the wiring unit connected to the sensor and ensure it is not damaged in any way.
Next, you must check the cable connections and ensure they are correctly connected. Make sure the cables are snugged in well. Apply some pressure to insert the cable fully, just in case.
If you find any problem with the sensor wiring, it would be best to get in touch with a professional to fix it.
You may do it yourself if you know how to connect the wire or replace it safely. But dealing with electricity without proper tools is very dangerous.
Contact Support
Even after tying all the basic and advanced troubleshooting steps above, if you cannot get rid of the yellow light from the garage door sensor, it’s time to contact manufacturer support.
Most garage door sensor manufacturers should have some sort of support medium to get your problems solved.
You may visit the manufacturer’s website to find more ways to contact them. You will find the email, phone number, or live chat option.
You may also refer to the user’s manual or the booklet that came inside the sensor box.
Replace The Sensor
Most garage door sensor comes with at least a one-year manufacturer warranty. If the sensor gets damaged within less than a year, you should get it replaced free of cost.
Refer to the official website of the garage door sensor manufacturer to find more info about the warranty. If the sensor is still covered under warranty, you may contact the support team to claim your warranty and get it replaced for free.
Or if the warranty period is over, you will need to buy a new replacement unit and fix it yourself or ask a professional to do it for you.
You can find various garage door sensors of different types on Amazon, House improvement stores, etc.
Most sensors can be fixed by yourself, provided you have a basic understanding of wiring. The instructions manual should help you fix it.
You must ensure you get the highest quality garage door sensor, which will be fixed on the door frame. The sensor you choose should be durable, dirt resistant, and able to go well in any weather.
How To Replace The Garage Door Sensor?
Garage door sensors are, in most cases, reasonably simple to replace. Most sensors come with an instructions guide to assist you in fixing it yourself.
Below are some points you need to remember when replacing your garage door sensor.
- Use a measuring tape to ensure both sensors are aligned correctly and are at the same height from the ground.
- The sensor should be aligned so that the beam sent out from one should receive the other directly.
- Ensure to tighten the screws so that the sensor won’t change the alignment after a few days.
Follow the steps to replace the garage door sensor yourself:
- Use a screwdriver to unscrew and loosen the back holding the sensor on both sides.
- If the sensor is attached to the door frame with wing nuts, rotate it in anti-clockwise to remove it.
- Once the bracket is removed, detach the sensor and attach the new one.
- You must properly place the sensor in the bracket so that it won’t change the alignment after fixing.
- Use a measuring tape, bubble level, etc., to level and arrange the sensor correctly. Make markings to make it simpler.
- Screw the basket back in place or rotate the wing buts in clockwise direction to tighten them.
Wrapping Up
A yellow light on the garage door sensor means the sensors are misaligned, the lens is dirty, or an obstacle is blocking the path. In the worst case, the sensor might have gone faulty, causing the yellow light.
If you see a yellow light on your garage door sensor, there is something wrong with the sensor, and it won’t let you close the door.
So let’s go through what we did to fix a garage door sensor with yellow light.
- Clean the sensor lens
- Check the wiring
- Align the sensors
- Replace the sensor